LED Control by Push button

To control an LED by a push button using an Arduino Uno, you will need the following components:
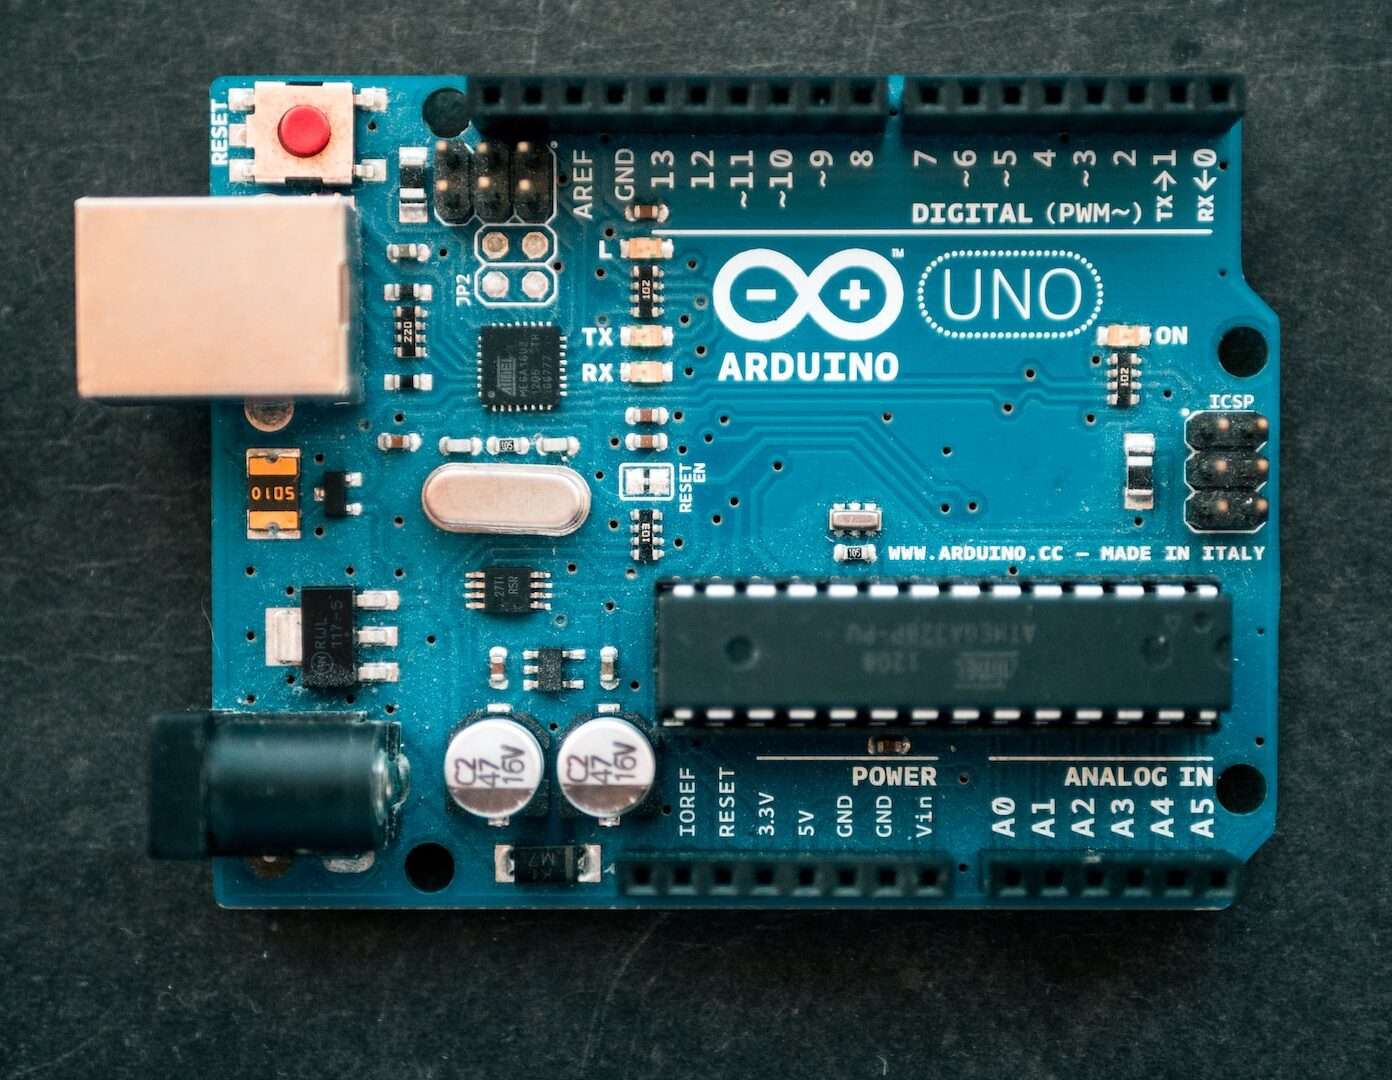
- Arduino Uno board
- LED (Light-Emitting Diode)
- Resistor (typically around 220 ohms)
- Push button
- Breadboard
- Jumper wires
Here are the step-by-step instructions to control an LED with a push switch using Arduino Uno:
- Connect one terminal of the push switch to the Arduino board’s digital pin. For example, connect it to pin 2.
- Connect the other terminal of the push switch to the Arduino’s ground (GND) pin.
- Connect the positive (longer) leg of the LED to a digital pin. For example, connect it to pin 13.
- Connect the negative (shorter) leg of the LED to a resistor.
- Connect the other end of the resistor to the Arduino’s ground (GND) pin.
Now let’s handle the programming part:
- Open the Arduino IDE on your computer.
- Write the following code:
const int switchPin = 2;   // The pin connected to the push switch
const int ledPin = 13;     // The pin connected to the LED
int ledState = LOW;        // Variable to store the LED state

void setup() {
  pinMode(switchPin, INPUT);    // Set the switch pin as input
  pinMode(ledPin, OUTPUT);      // Set the LED pin as output
}

void loop()
{
  if (digitalRead(switchPin) == HIGH)   // If the switch is pressed
  {
    ledState = !ledState;               // Toggle the LED state
    digitalWrite(ledPin, ledState);     // Update the LED
    delay(250);                         // Debounce delay
  }
}
- In the Arduino IDE, select the correct board type and port from the “Tools” menu.
- Click on the “Upload” button to upload the code to the Arduino board.
- Now, when you press the push switch, the LED connected to pin 13 will toggle its state (on/off).
That’s it! You have successfully controlled an LED by a push switch using Arduino Uno.